

Lino printing is a calming craft that enables you to create print after print of your handcrafted design.
It'll be easy to get started with our range of tools and materials, available online and in store. The simple steps will help you on your way to achieving custom-made prints!

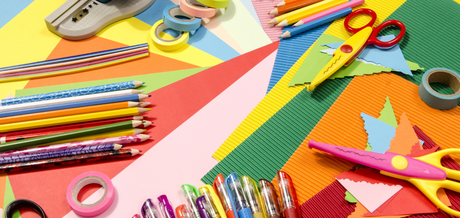
Tool Guide:
Lino Cutting and Printing Kit: With this lino printing kit, you’ll be able to design, cut and create your own block stamps – with everything you need included.
Lino Cutting Tool: It’s important to use a good quality cutting tool whenever working with lino, choosing a blade best suited to your design.
Lino Sheets: Lino sheets are formulated to be soft and easy for carving, allowing you to create your designs with basic cutting techniques.
Printing Ink: Choosing your printing ink is the simplest way to personalise the prints you create!
Ink Roller: A good roller will make it easy to apply ink or paint to a cut lino surface, ready for printing.
Tracing Pepper: Tracing paper allows you to transfer your hand-drawn designs onto lino to create your prints

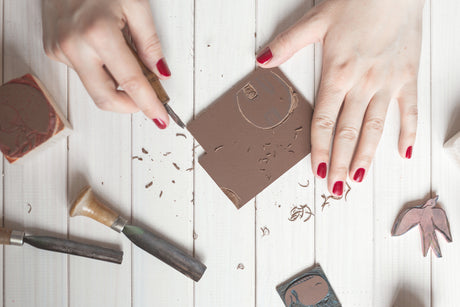
How to Carve and Print Lino
Get to grips with the simple lino cutting technique in no time, then you can start putting your own creative twist on every project!
Step 1: Draw or transfer your design onto the lino.
Step 2: Fill in your design with a permanent marker.
Step 3: Begin to cut out the design, ensuring you are always cutting away from your supporting hand.
Step 4: Ink your design by rolling out a small amount of ink until tacky and spreading evenly over the lino.
Step 5: Carefully align the paper with the lino and press down in circular motions with the burnishing tool.
Step 6: Slowly lift the paper to reveal your lino print!
You can read more articles like this over at HobbyCraft.co.uk


2 comments
Never knew this and now I can get inspired to create my own. Thank you so much Canopy Craft for this wonderful blog post. I will be crafting away.
I’ve always thought it was one of the hardest things to do when I was shown this at school, however I am proven wrong. Following this step by step guide really made me feel at ease and it was a lot of fun